
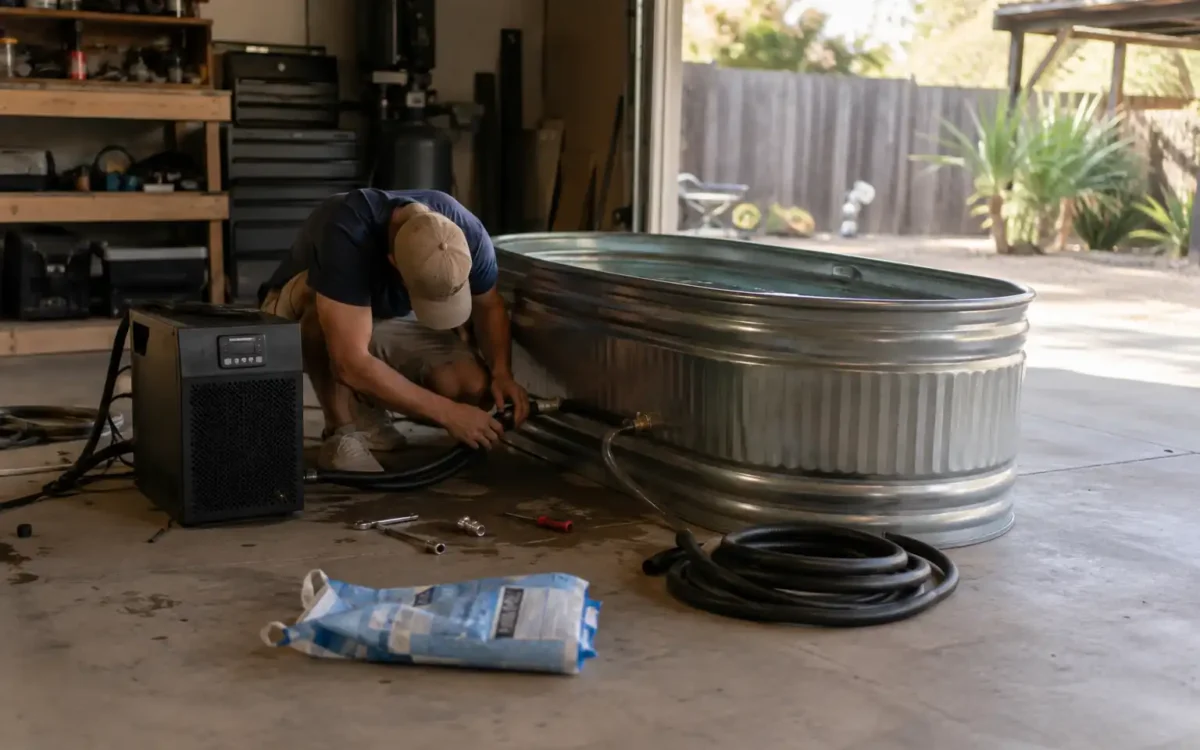
A ready-made cold plunge tub can run you $3,000 to $6,000 before you’ve even filled it with water — which is exactly why so many people end up building their own instead. A solid diy cold plunge setup can get you the same cold-water results for a fraction of that price, using parts you can find at a farm supply store or online in an afternoon.
Why Most People Skip the Store-Bought Tub
The core function of any cold plunge is simple: a container that holds water cold enough to trigger a physiological response, for long enough to matter. Everything beyond that — sleek finishes, app controls, built-in seating — is convenience, not necessity.
Once you separate “necessary” from “nice to have,” how to build a diy cold plunge stops looking intimidating and starts looking like a weekend project with a parts list, not a specialized purchase only professionals can pull off.
This isn’t about cutting corners either. A well-built DIY setup can hold temperature just as reliably as a commercial unit — the difference is mostly in the branding, the enclosure design, and the markup that comes with a finished product versus assembled parts.
Choosing Your Base: Stock Tank, Chest Freezer, or Tub
Most DIY builds start with one of three bases, each with a different balance of cost, effort, and results.
The most common choice. Watertight out of the box, widely available, and roomy enough for full immersion without any sealing work.
Cheaper upfront and has built-in cooling, but needs careful sealing and a liner to hold water safely — more of a weekend project than an afternoon one.
A freestanding bathtub or large container works too, though sizing and drainage need more planning than a purpose-built tank.
Whichever base you pick, the goal is the same: something watertight, big enough for full immersion, and sturdy enough to hold a few hundred pounds of water without flexing or shifting once it’s full.
For a first diy cold plunge stock tank build, a 100-gallon galvanized or heavy-duty poly tank is usually the easiest starting point — big enough for most adults, and simple enough that there’s no sealing or waterproofing required.
Tapered stock tanks tend to feel roomier than their gallon rating suggests, which matters more than it sounds like once you’re actually sitting inside one. Galvanized steel holds cold slightly better than plastic, though either works fine for a first build — the bigger factor is usually just making sure the tank fits wherever you’re planning to put it.
The Simplest Path: Ice-Only Setup
If you’re not ready to commit to a chiller yet, an ice-only setup is the cheapest way to test whether cold plunging is actually something you’ll stick with. Fill the tank, add ice until it hits your target range, and you’re in business.
The trade-off is ongoing effort: you’ll be buying and hauling ice regularly, and the temperature will drift upward between refills rather than holding perfectly steady. It’s a reasonable place to start, not necessarily where most people end up staying.
As a rough guide, dropping a 100-gallon tank by about 10°F takes roughly 15–20 pounds of ice, which means a couple of standard bags per session in most cases. That’s manageable for occasional use, but it adds up quickly if you’re plunging daily, which is usually the point where people start looking at a chiller instead.
There’s no wrong choice here — some people genuinely prefer the ice routine long-term, treating the extra effort as part of the ritual rather than a chore to eliminate. It’s worth trying before assuming you’ll automatically want to upgrade.
Adding a Chiller for Real Temperature Control
A diy cold plunge chiller setup is what turns an ice-dependent tank into something you can use daily without constant maintenance. The chiller pulls water in, cools it through a refrigeration coil, and sends it back into the tank on a loop.
Keeps water circulating so temperature stays even throughout the tank, not just near the chiller intake.
Catches debris before it cycles back through the chiller, protecting the equipment and keeping water clearer.
Runs a cooling cycle whenever water rises above your set temperature, then shuts off automatically once it’s back in range.
Basic Plumbing Without Overcomplicating It
This part sounds more technical than it is. Most kits use flexible spa hose and simple push-fit connections rather than anything requiring real plumbing experience — the loop is tank, out to the pump, through the filter, into the chiller, and back into the tank.
Most beginners can get a full setup connected in a few hours, even with zero prior plumbing background. The instructions that come with most chiller and pump kits are built around exactly this kind of first-timer.
A few small details make the difference between a smooth install and a frustrating one: keeping hose runs as short and straight as possible, securing connections with clamps rather than relying on friction fit alone, and doing a slow test run before filling the tank fully, so any leak shows up on a towel instead of your garage floor.
Keeping the Water Clean and Safe to Reuse
An overlooked part of any build is water hygiene — a cold plunge that isn’t maintained can grow bacteria just like any other standing water. A basic sanitizer routine, a fitted cover to keep debris out between sessions, and periodic full water changes go a long way.
This matters more than it might seem, since skin exposure to poorly maintained water carries its own risks separate from the cold itself. If you haven’t already, our guide on cold plunge safety covers the broader precautions worth knowing before you make this a daily habit.
A simple weekly rhythm covers most of this: rinse or replace the filter cartridge, check your sanitizer level, and give the tank a quick wipe-down around the waterline where residue tends to build up first. None of it takes more than a few minutes once it’s part of your routine, and skipping it for even a week or two is usually when problems start to show up first.
Dialing In Your Target Temperature
Once your setup is running, the chiller thermostat is where the real customization happens. Beginners generally do better starting in a milder range and working colder over time, rather than setting the coldest number the chiller allows on day one.
If you’re not sure what range actually fits your goals, our cold plunge temperature chart breaks it down by experience level, so your new setup isn’t running on a guess.
It’s worth resisting the urge to immediately max out the chiller’s coldest setting just because you can. A DIY build gives you full control over temperature, but that control is only useful if you actually use it gradually — dropping a degree or two every week or so tends to build tolerance far more comfortably than jumping straight to the bottom of the dial.
What This Actually Costs, Tier by Tier
| Build Tier | Typical Cost | Effort Level |
|---|---|---|
| Ice-only tank | $200–$400 | Low — fill and go, ongoing ice runs |
| Stock tank + chiller + pump | $750–$2,200 | Medium — a few hours to assemble |
| Chest freezer conversion | $400–$1,200 | High — sealing, liner, more labor |
What Building One Myself Actually Taught Me
I went into my own build assuming the chiller would be the hard part, and it turned out to be the easiest — it was practically plug-and-play. The part that actually took planning was the water maintenance routine; I underestimated how quickly a tank sitting outside collects debris, and skipping a cover for the first week was a mistake I only made once.
Looking back, the whole project took less time than researching which prebuilt tub to buy would have. There’s something genuinely satisfying about stepping into cold water knowing exactly what’s holding it — every hose, fitting, and setting was a decision I made, not a black box I paid extra for. That sense of ownership ended up mattering more to me than I expected going in.
Frequently Asked Questions
Costs typically range from $200 for a basic ice-only tank to $2,200 for a full stock tank and chiller setup, depending on the equipment you choose.
A stock tank filled with water and cooled with ice is generally the easiest starting point, since it requires no sealing, plumbing, or electrical work.
Yes — stock tanks are watertight by design and are one of the most common bases used for DIY cold plunge builds, whether cooled with ice or a chiller.
Either by adding ice regularly or by installing a recirculating chiller that automatically maintains your set temperature without manual refills.
It can be, as long as water hygiene is maintained consistently — regular sanitizing, filtering, and covering the tank between uses are what make a DIY setup safe for repeated use.
Testing the Waters First?
Start with an insulated tank and ice — low commitment, and you’ll know within a week if this is a habit worth keeping.
Already Sold on Cold Plunging?
Go straight for the stock tank and chiller combo — it’s more upfront cost, but it’s the setup you won’t outgrow in a month.

Related Articles
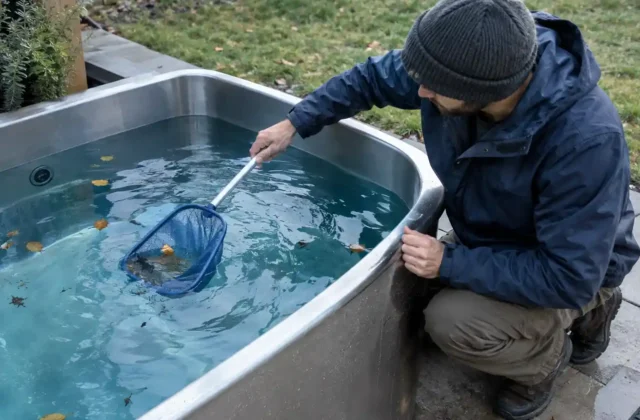
Cold Plunge Water Treatment: 5 Ways to Keep Your Water Clean and Safe
Safety note before you read on: This guide covers general cold plunge water treatment options, including filters, UV…
Read Guide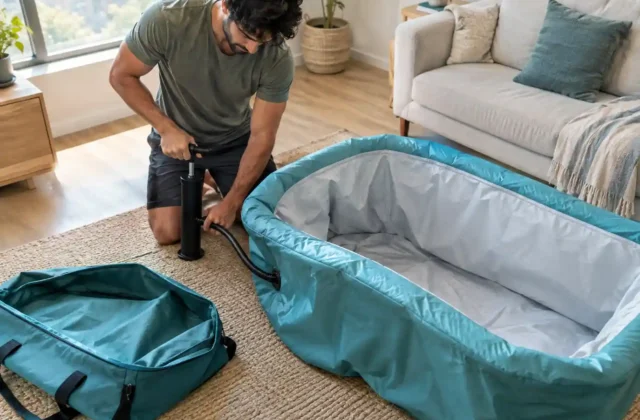
Best Portable Cold Plunge: What to Look for Before You Buy
A quick note before you read on: This guide covers what to look for and general expectations when…
Read GuideCold Plunge Maintenance Tips: How to Keep Your Tub Clean and Safe
A quick note before you read on: This article is for general educational purposes and reflects common maintenance…
Read Guide